


To reseal an RV roof, clean the surface, remove any old sealant, and apply a new sealant. Then, ensure it is spread evenly and let it dry.
Resealing your RV roof is an essential maintenance task to prevent leaks and water damage. In this guide, you’ll learn the step-by-step process to effectively reseal your RV roof. By following these simple yet crucial steps, you can ensure a watertight seal and prolong the life of your RV.
Whether you have a rubber, fiberglass, or metal roof, proper resealing is vital to protect your investment and enjoy worry-free travels. So, let’s dive in and explore the best practices for resealing your RV roof to keep it in top condition.

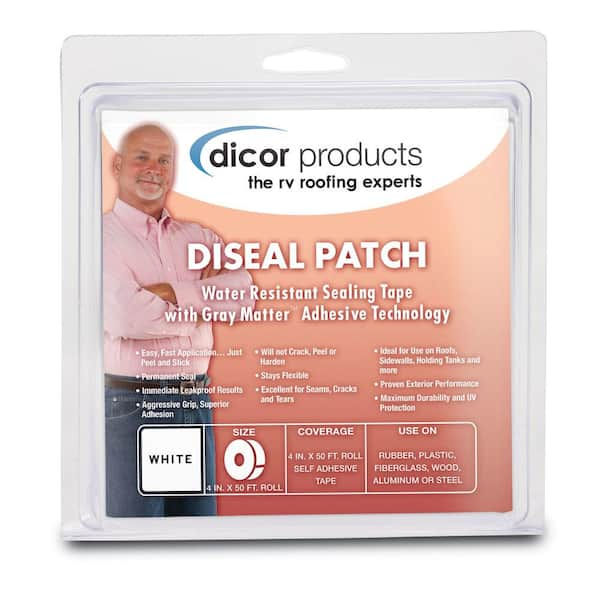
Credit: www.amazon.com
Assessing The Roof Condition
Before resealing your RV roof, it’s crucial to assess its condition to determine the necessary repairs and maintenance. A thorough evaluation will help you identify any damage or leaks that could compromise the effectiveness of the resealing process.
Inspecting For Damage
Start by visually inspecting the entire surface of the roof. Look for any signs of cracks, tears, or punctures in the roof membrane. Check for loose or missing sealant around vents, skylights, and air conditioners. Pay close attention to the edges and seams, as these areas are susceptible to damage over time.
Identifying Leaks
When assessing the roof condition, be on the lookout for water stains or soft spots on the ceiling and walls of the RV. Trace back the source of any water intrusion to its point of entry on the roof. Identifying the location of leaks will help you address them effectively during the resealing process.
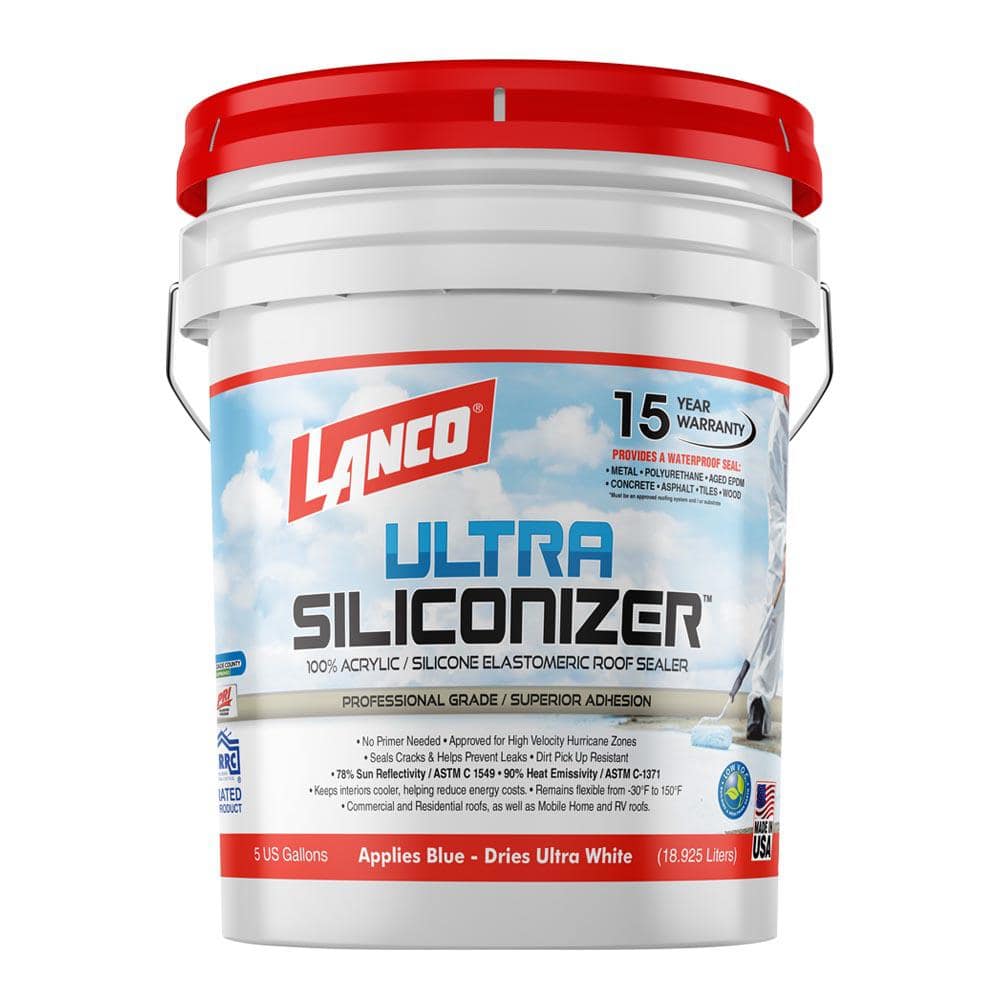
Credit: www.homedepot.com
Choosing The Right Sealant
When it comes to resealing an RV roof, choosing the right sealant is crucial. A good sealant will not only protect your RV from water damage, but also extend the lifespan of your roof. With so many options available in the market, it can be overwhelming to determine which sealant is the best fit for your RV. In this section, we will explore the different types of sealants and the factors you should consider when making a decision.
Understanding Different Types
Before deciding on a sealant, it is essential to familiarize yourself with the different types available. Each type has its own advantages and drawbacks, so understanding their characteristics will help you make an informed choice. Here are the most common types of sealants used for RV roof resealing:
- Silicone-based Sealants: These sealants are highly durable and known for their superior water resistance. They remain flexible and effective in extreme weather conditions, making them a popular choice among RV owners.
- Butyl-based Sealants: Butyl-based sealants are known for their excellent adhesion and sealing properties. They are easy to apply and provide a strong barrier against water infiltration. However, they may harden over time and require regular maintenance.
- Acrylic-based Sealants: Acrylic-based sealants offer good flexibility and adhesion. They are often used in combination with other types of sealants to provide enhanced waterproofing and UV protection.
Factors To Consider
When selecting a sealant for your RV roof resealing project, several factors should be taken into consideration. These factors will help you determine which sealant will work best for your specific needs:
- Roof Material: The type of roof material on your RV will influence the choice of sealant. Different materials require different sealants to ensure proper adhesion and compatibility.
- Application Method: Consider how you plan to apply the sealant. Some sealants come in convenient cartridges with applicator tips, while others may need to be mixed or applied with a brush. Choose a method that aligns with your skills and preferences.
- Weather Conditions: Take into account the climate in which you typically travel. If you often encounter extreme temperatures or frequent rain, you’ll want a sealant that can withstand these conditions without deteriorating.
- Longevity: Determine how long you want the sealant to last. Some sealants offer longer durability and may require less maintenance, while others may need to be reapplied more frequently.
- Budget: Consider your budget and weigh the cost of the sealant against its performance and longevity. Remember that investing in a quality sealant can save you money in the long run by preventing costly repairs.
By carefully considering these factors and understanding the different types of sealants available, you will be able to choose a sealant that meets your specific requirements for resealing your RV roof. Now that you have a clear understanding of the options and factors involved, you can confidently move forward with your resealing project.
Preparing The Roof Surface
Preparing the Roof Surface is an essential step before resealing an RV roof. This involves cleaning the roof thoroughly and removing any old sealant to ensure proper adhesion of the new sealant.
Cleaning The Roof
Before resealing your RV roof, it’s crucial to clean the surface properly. Start by removing any debris, such as leaves, twigs, or dirt, using a broom or blower. This ensures that the roof is free from any loose particles that could interfere with the sealing process.
Next, you’ll want to wash the roof using a gentle cleaning solution. A mild dish soap mixed with warm water works well for this purpose. Avoid using harsh chemicals or solvents as they can damage the roof material.
Fill a bucket with the cleaning solution and use a soft brush or sponge to scrub the roof gently. Work in small sections, starting from one end and moving towards the other. Rinse the roof thoroughly using a hose with a sprayer attachment to remove any residue.
Removing Old Sealant
After cleaning the roof, the next step is to remove any old sealant that may be present. Over time, the sealant can deteriorate or crack, compromising its effectiveness in protecting the roof.
Using a putty knife or a scraper tool, carefully scrape off the old sealant. Be gentle to avoid damaging the roof surface. Pay close attention to areas where the sealant appears cracked or loose. Remove all traces of the old sealant until the surface is smooth and clean.
Once the old sealant has been removed, it’s important to inspect the roof for any signs of damage or leaks. Check for cracks, holes, or any areas where water might penetrate. Identify and repair any issues before proceeding with resealing.
Credit: www.homedepot.com
Applying The Sealant
Applying the sealant is a crucial step in resealing an RV roof. This process involves techniques that ensure proper application and even coverage. By following these guidelines, you can effectively protect your RV from water damage and extend its lifespan for years to come.
Techniques For Proper Application
To get the best results when applying sealant to your RV roof, it’s important to use proper techniques. Follow these steps for a successful sealant application:
- Clean and prepare the surface: Before applying the sealant, make sure the roof is clean and free from debris. Use a roof cleaner to remove any dirt, grime, or old sealant. Thoroughly rinse and dry the surface before proceeding.
- Choose the right sealant: Select a high-quality sealant specifically designed for RV roofs. There are different types available, such as liquid sealants or pre-formed tape. Read the manufacturer’s instructions to ensure you choose the correct product for your roof type.
- Prepare the sealant: Follow the manufacturer’s instructions to prepare the sealant for application. This could involve stirring or shaking the product before use. Some sealants may also require a specific temperature range for proper application.
- Apply the sealant: Use a caulking gun or brush to apply the sealant, depending on the product you have chosen. Start in one corner of the roof and work your way across, maintaining a steady and even flow of the sealant. Take care to avoid trapping air bubbles in the sealant as you go.
- Smooth and feather the edges: After applying sealant to an area, use a putty knife or your finger to smooth and feather the edges. This helps to create a seamless, watertight seal and prevents any pooling or edges that may be prone to lifting.
Ensuring Even Coverage
To ensure even coverage of the sealant, follow these tips:
- Work in small sections: Divide the roof into manageable sections and focus on one at a time. This allows you to concentrate on applying a consistent layer of sealant without rushing or missing spots.
- Use a guide: Consider using a straight edge or masking tape as a guide to help you apply the sealant in a straight line and maintain a consistent width throughout.
- Inspect as you go: Frequently check your work as you proceed to ensure there are no gaps or missed areas. This allows you to make corrections immediately, preventing any potential leaks.
- Apply a second coat: In some cases, it may be necessary to apply a second coat of sealant to ensure complete coverage. Follow the manufacturer’s guidelines to determine if this is necessary for your selected product.
Ensuring Longevity And Effectiveness
To ensure the longevity and effectiveness of your RV roof, it’s essential to reseal it regularly. By using high-quality sealants and inspecting for any signs of wear and tear, you can prevent water damage and maintain the integrity of your RV roof for years to come.
Regular maintenance can save you from costly repairs in the future.
Regular Maintenance Tips
Regular maintenance is essential to ensure the longevity and effectiveness of your RV roof seal. By following these simple tips, you can prevent costly repairs and maintain the integrity of your roof:
- Inspect your roof at least twice a year, preferably in the spring and fall, to assess its condition.
- Clean your roof regularly using a mild detergent and soft brush to remove dirt, debris, and any potential sources of damage.
- Check the seals and seams for any signs of wear or deterioration. Look for cracks, gaps, or loose sealant that may allow water to penetrate.
- Repair any visible damage as soon as possible to prevent further deterioration. Use an appropriate sealant or patch kit to fix minor leaks or cracks.
- Pay attention to the condition of the caulking around roof vents, air conditioners, and other protrusions. Reapply caulking if it appears cracked or worn.
- Trim tree branches that overhang your RV to prevent them from rubbing against the roof and causing damage.
- Keep your roof clean and free from debris to avoid trapped moisture and potential damage.
Monitoring For Signs Of Wear
Regular monitoring for signs of wear is crucial for maintaining the effectiveness of your RV roof seal. By keeping an eye out for these indicators, you can address any issues promptly:
- Inspect the seams and edges of your roof regularly for any signs of lifting, cracking, or separation.
- Look for discoloration or staining on the ceiling or walls inside your RV, which may indicate water damage caused by a compromised seal.
- Pay attention to any musty or mildew-like odors, as these can be signs of water infiltration.
- Check for bulges, bubbles, or other irregularities on the roof surface, as these may indicate a compromised seal or trapped moisture.
- Monitor the effectiveness of your roof seal during heavy rain or snowfall. If you notice any leaks or water penetration, take immediate action.
Conclusion
By following these regular maintenance tips and monitoring your RV roof for signs of wear, you can ensure the longevity and effectiveness of your roof seal. Taking proactive measures will help you avoid costly repairs and keep your RV protected from the elements.
Frequently Asked Questions For How To Reseal Rv Roof
How Often Should You Reseal An Rv Roof?
It is recommended to reseal an RV roof every 1-2 years to prevent leaks and maintain its integrity. Regular inspections are also advised to identify any potential damage or wear and tear that may require immediate attention.
What Are The Signs That An Rv Roof Needs Resealing?
If you notice water stains, mold, or a musty odor inside your RV, it may indicate the need for resealing the roof. Other signs include cracking, peeling, or lifting of the roof material, as well as visible gaps or holes in the sealant.
Prompt action can prevent further damage to your RV.
Can I Reseal An Rv Roof Myself?
Yes, you can reseal an RV roof yourself with the right tools and materials. Start by cleaning the roof thoroughly and removing any old sealant. Apply a new layer of sealant, ensuring proper coverage and adhesion. Following manufacturer instructions and safety precautions is important for a successful DIY roof resealing project.
What Type Of Sealant Is Best For An Rv Roof?
The type of sealant you choose will depend on the material of your RV roof. For rubber or EPDM roofs, a water-based or solvent-based lap sealant is recommended. Fiberglass roofs may require a specific sealant designed for that material. Always check the manufacturer’s recommendations before purchasing and applying a sealant.
Conclusion
Resealing your RV roof is a critical maintenance task that should not be overlooked. By following the steps outlined you can ensure the longevity and durability of your RV, protecting it from potential leaks and water damage. By conducting regular inspections and addressing any issues promptly, you can enjoy many more adventures on the road without the worry of roof-related problems.
So, don’t wait any longer – it’s time to give your RV roof the attention it deserves!