
If your RV water hose is leaking at the connection, it is likely due to a loose or damaged connector. This can be fixed by tightening the connection or replacing the damaged parts.
Proper maintenance and inspection of your water hose can prevent leaks and ensure a smooth flow of water during your travels. We will discuss the common causes of RV water hose leaks, the steps to diagnose and fix the issue, and some preventive measures to avoid future leaks.
Whether you are a seasoned RV owner or a new adventurer, understanding how to address water hose leaks will help you enjoy your trips with peace of mind and without any unexpected water-related issues.
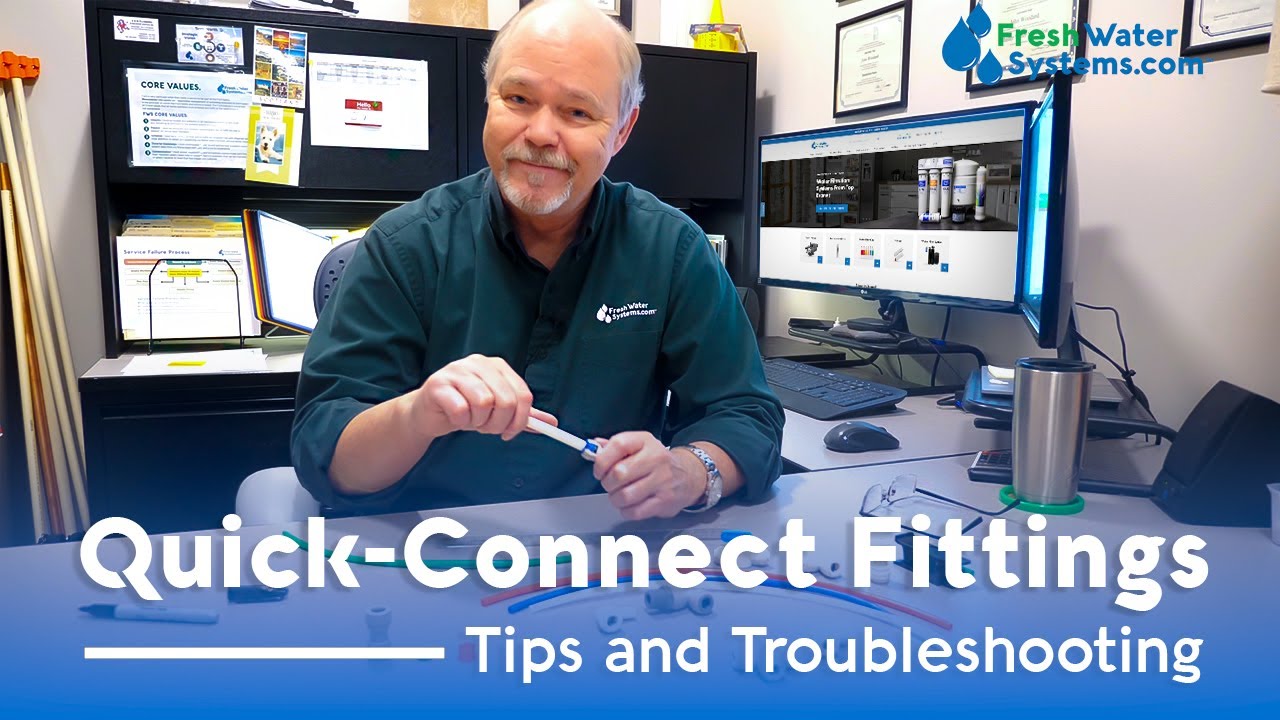
Credit: m.youtube.com
Identifying The Issue
When it comes to identifying the issue of an RV water hose leaking at the connection, it’s crucial to understand the common causes and signs of water hose leaks. By recognizing these factors, you can take the appropriate measures to address the problem and prevent further damage to your RV’s water system.
Common Causes Of Rv Water Hose Leaks
1. Worn Out Seals: Over time, the seals on the hose connection may deteriorate, leading to leaks.
2. Tightening Issues: If the hose connection is not tightened properly, it can result in leaks.
3. Physical Damage: External factors such as rough handling or contact with sharp objects can cause the hose to develop leaks.
Signs Of Water Hose Leaks
1. Water Dripping: Visible water dripping from the hose connection is a clear indication of a leak.
2. Reduced Water Pressure: A drop in water pressure when using the RV’s water system may signify a leak in the hose.
“` This HTML content is suitable for WordPress and addresses the subheading “Identifying the Issue” by providing clear information on the common causes and signs of RV water hose leaks. The use of bold formatting emphasizes important phrases and sentences, while the content is structured for easy readability and SEO optimization.Quick Fixes For Connection Issues
Having a leaking RV water hose can be a frustrating experience, but fortunately, there are quick and easy fixes to address connection issues. By taking immediate action, you can ensure a smooth and leak-free camping trip. Here are a few simple solutions to help you tighten loose connections, replace faulty seals and washers, and use leak repair tape.
Tightening Loose Connections
If you notice a leak around the connection area of your RV water hose, the first step is to tighten any loose connections. Begin by inspecting the connection points, including the hose coupling and the RV water inlet. Using a wrench or pliers, gently tighten the connections until they are snug. Be careful not to overtighten, as this can damage the fittings or create new leaks.
Replacing Faulty Seals And Washers
If tightening the connections doesn’t resolve the leakage issue, it may be necessary to replace faulty seals and washers. Over time, these components can deteriorate and cause leaks. To replace the seals and washers, follow these simple steps:
- Turn off the water supply and disconnect the RV water hose from the water source.
- Inspect the seals and washers for any signs of wear or damage. If they appear worn out or cracked, it’s time to replace them.
- Remove the old seals and washers by unscrewing the connection fittings. Depending on the hose type, you may need to use pliers or a screwdriver to remove them.
- Take the new seals and washers and carefully install them into the connection fittings.
- Hand-tighten the fittings and ensure they are secure. Use a wrench or pliers to provide an extra quarter turn, but avoid overtightening.
- Reconnect the RV water hose to the water source, turn on the water supply, and check for any signs of leakage. If the connections are now secure, the issue should be resolved.
Using Leak Repair Tape
If you find persistent leaks in your RV water hose connections, even after tightening and replacing seals and washers, leak repair tape can be a handy solution. This tape is specifically designed to seal leaks and provide a temporary fix until a more permanent solution is available. Follow these steps to use leak repair tape effectively:
- Start by drying the leaking area completely. Moisture can interfere with the tape’s adhesive properties.
- Cut a strip of leak repair tape long enough to cover the entire leaky section.
- Wrap the tape tightly around the connection, ensuring complete coverage of the leak. Stretch the tape gently for a secure fit.
- Smooth out any wrinkles or air bubbles in the tape, pressing firmly to enhance adhesion.
- Wait for a few minutes to allow the tape to bond securely.
- Turn on the water supply and inspect the repaired connection for any signs of leakage. If the tape has been applied correctly, the leak should be sealed.
Preventive Maintenance
Preventing issues before they occur is essential to maintaining the longevity and efficiency of your RV water hose. Regular maintenance and proper care of the water hose connections are crucial steps in preventing leaks and potential damage. By establishing a preventive maintenance routine, you can ensure that your RV water hose functions optimally, saving you time, money, and headaches down the road.
Regular Inspection Of Water Hose Connections
Regularly inspecting your RV water hose connections is vital to catch any potential leaks or issues. By keeping an eye on the connections, you can identify and fix any problems early on, preventing further damage. Here’s how you can effectively conduct a regular inspection:
- Check the connection points between the water hose and your RV’s water source as well as the water inlet on your vehicle. Ensure there are no loose or damaged fittings.
- Inspect for any visible cracks, kinks, or bulges along the length of the hose. These can indicate weak points prone to leaks.
- Run your hand along the hose to feel for wetness or moisture, as this can signify a leak that may not be immediately visible.
- Consider using a water pressure gauge to test the system. If the pressure drops unexpectedly, it could indicate a leak.
By regularly inspecting your water hose connections, you can catch any potential issues early on and take necessary measures to prevent leaks and water damage.
Proper Storage Of Water Hoses
Properly storing your RV water hoses can significantly extend their lifespan and prevent issues like leaks at the connection points. Here are a few tips for storing your water hoses:
- Before storing, make sure the hose is completely drained of water to prevent freezing and damage during storage.
- Avoid leaving the water hose coiled up tightly for extended periods as this can cause kinks and stress on the hose material.
- Consider investing in a hose reel or storage bag to keep your water hoses neatly organized and protected from the elements.
- Store your water hoses in a cool, dry place, away from direct sunlight, to prevent degradation of the hose material.
- Regularly inspect the stored hoses for any signs of wear and tear, and replace them if necessary.
Implementing proper storage practices can help maintain the integrity of your RV water hoses, ensuring they are in optimal condition for future use.

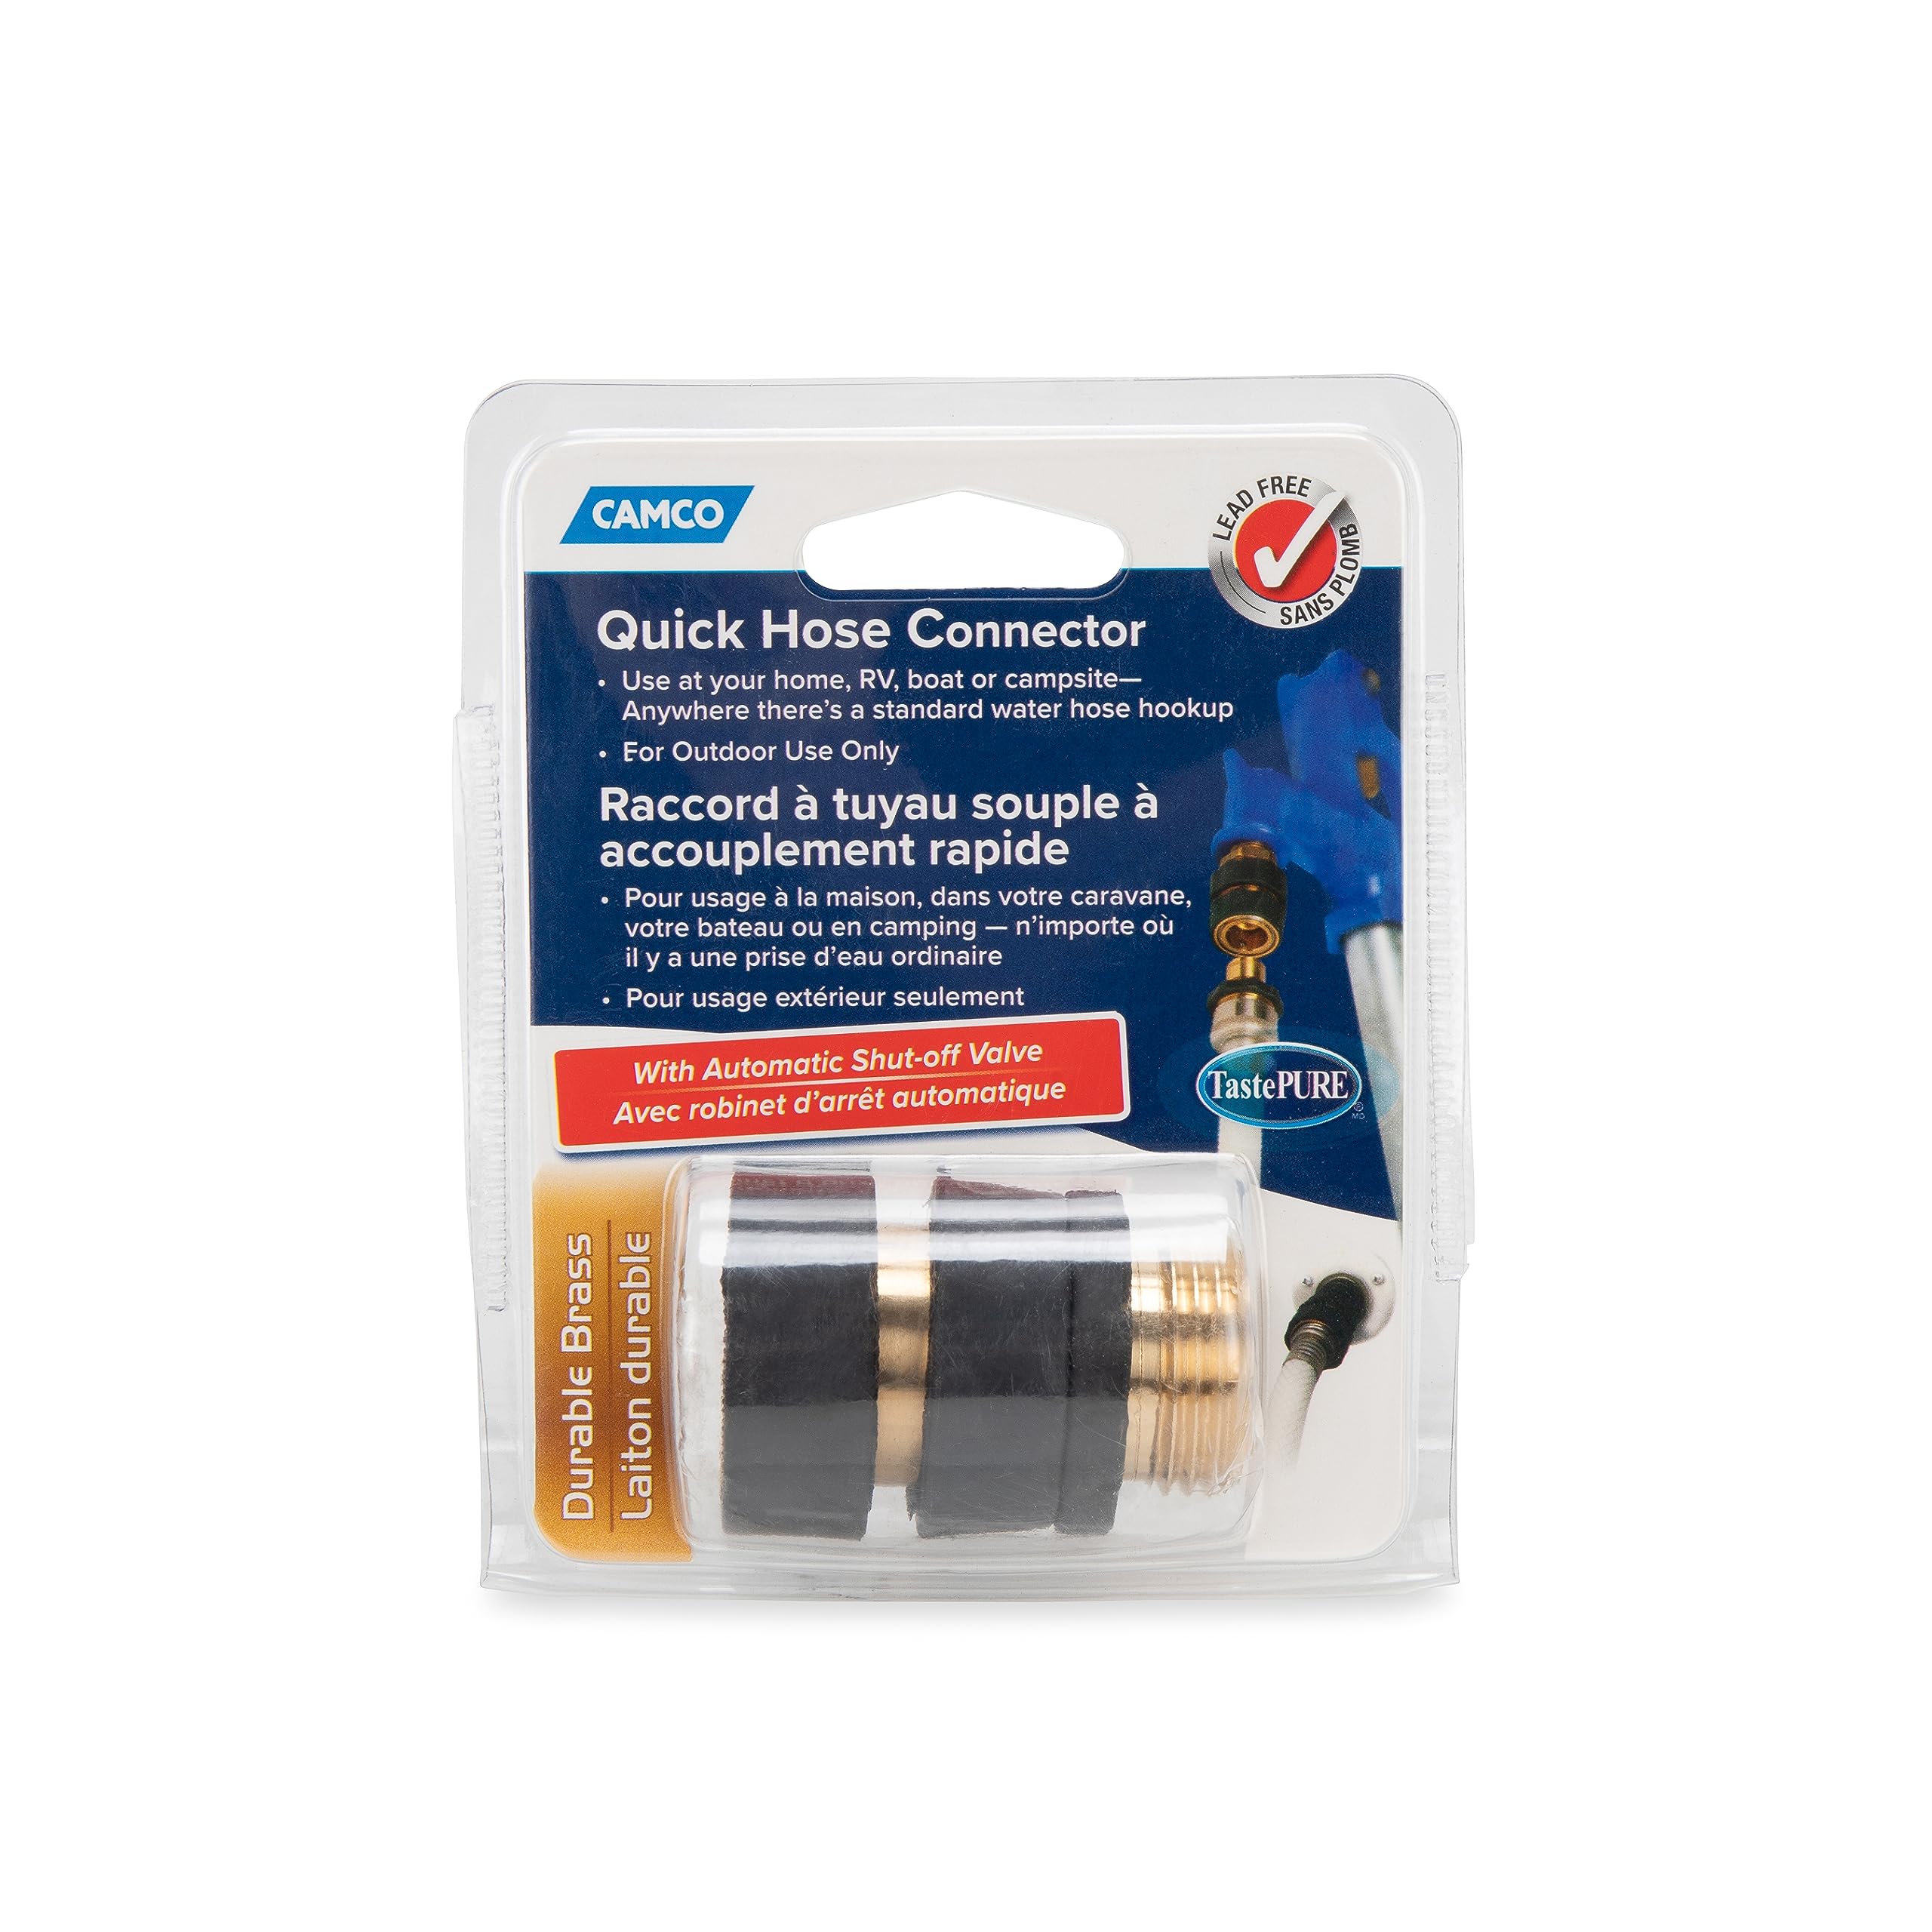
Credit: www.amazon.com
Choosing The Right Water Hose
When it comes to enjoying your RV adventures, ensuring a reliable water supply is essential. One common issue that RV owners face is a water hose leaking at the connection. Not only can this cause inconvenience, but it can also lead to wasted water and potential damage to your RV.
Durable Materials
Opting for a water hose made from durable materials is the first step in preventing leaks at the connection. Look for hoses that are specifically designed for RV use and are constructed from materials such as reinforced rubber or vinyl. These materials offer enhanced flexibility, durability, and resistance to temperature changes, ensuring that your hose can withstand the demands of outdoor use.
Reliable Connection Features
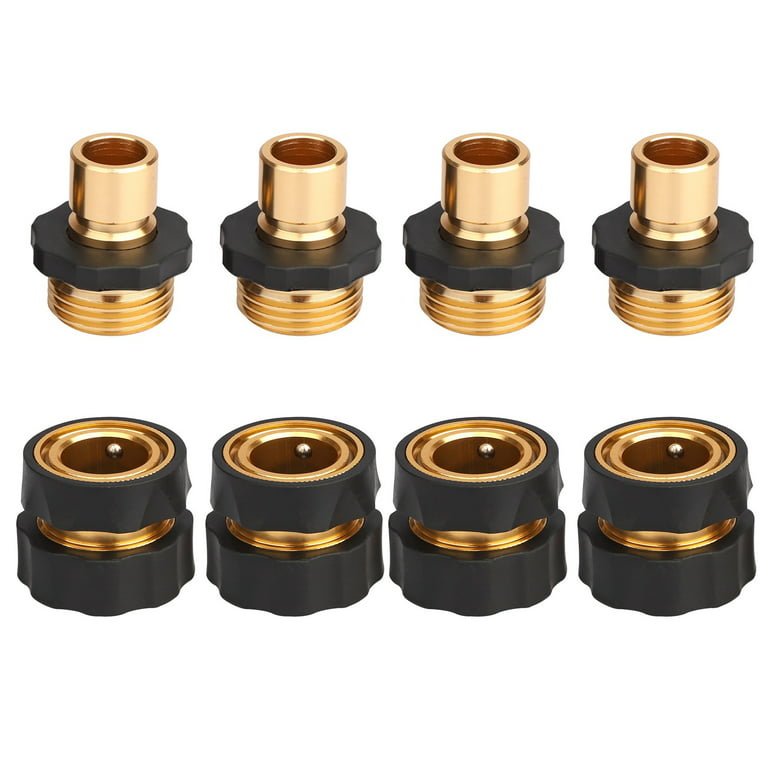
Another important factor to consider is the connection features of the water hose. A reliable hose will have connectors that provide a tight seal, minimizing the risk of leaks. Look for hoses with brass or stainless steel fittings as they are less prone to corrosion and offer a secure connection.
- Consider hoses with a gripping collar or twist-lock mechanism as these features help to ensure a watertight connection
- Check if the hose has a built-in O-ring or gasket, as these provide an extra layer of protection against leaks
- Look for hoses that offer compatibility with various water sources, such as campground hookups or residential faucets.
By selecting a hose with durable materials and reliable connection features, you can minimize the risk of leaks at the connection and enjoy a consistent water supply during your RV adventures.
Seeking Professional Help
If you’ve tried various solutions to fix your RV water hose leak at the connection without success, it’s time to consider seeking professional help. While DIY fixes can be effective in many cases, there are instances when the problem requires the expertise of experienced RV maintenance services.
When Diy Fixes Are Ineffective
If you’ve attempted to resolve the water hose leak issue on your own but found that your DIY fixes are ineffective, it’s important not to get discouraged. It’s not uncommon for leaks at the connection to persist despite your best efforts. In such situations, it’s crucial to understand that seeking professional help is not a sign of defeat, but rather a wise decision to ensure the problem gets resolved properly.
A leak at the connection is often caused by worn-out or damaged fittings, loose connections, or improper installation. These problems can be challenging to diagnose and address without the necessary knowledge and tools. Therefore, it’s essential to acknowledge when professional intervention is needed.
Consulting Rv Maintenance Services
When facing a persistent water hose leak at the connection, consulting RV maintenance services is a wise choice. These professionals have extensive experience in dealing with various RV issues, including water leaks. They possess the expertise to identify the root cause of the problem and provide an effective solution.
RV maintenance services have the necessary tools and equipment to conduct thorough inspections and repairs. Whether it’s replacing worn-out fittings, ensuring proper connection tightness, or resealing the connection area, they can handle the task efficiently and effectively.
Moreover, by seeking professional help, you can not only resolve the water hose leak issue but also prevent potential water damage to your RV’s interior. An unresolved leak can lead to mold growth, wood rot, and other costly damages, which can be avoided by addressing the problem promptly through professional assistance.
Remember, the key to maintaining a leak-free RV water system is identifying and resolving issues promptly. By consulting RV maintenance services, you can ensure that the water hose connection leak is fixed correctly, protecting both your RV and your peace of mind.
Credit: www.walmart.com
Frequently Asked Questions Of Rv Water Hose Leaking At Connection
Why Is My Rv Water Hose Leaking At The Connection?
If your RV water hose is leaking at the connection, it could be due to a loose or worn-out washer, a damaged or cracked hose, or improper installation. Checking and replacing the washer, tightening the connections, or replacing the hose can help resolve the issue.
How Do I Fix A Leaking Rv Water Hose Connection?
To fix a leaking RV water hose connection, start by turning off the water supply. Then, inspect the hose and connections for any damage or wear. Replace any worn-out washers or damaged hoses. Ensure a tight connection by using a wrench to tighten the fittings.
Test for leaks after making the necessary repairs.
How Can I Prevent Rv Water Hose Leaks At Connections?
To prevent RV water hose leaks at connections, ensure proper installation by using a wrench to tighten the fittings securely. Inspect the hose and connections regularly for any signs of wear or damage and replace as needed. Additionally, store the hose properly after each use to avoid kinks or bends that may lead to leaks.
What Are The Common Causes Of Rv Water Hose Leaks?
Common causes of RV water hose leaks include worn-out washers, damaged or cracked hoses, loose connections, and improper installation. Additionally, extreme temperature changes, excessive water pressure, or freezing can also contribute to hose leaks. Regular maintenance and inspection can help identify and address any potential issues before they worsen.
Conclusion
To prevent a leaking RV water hose connection, it is crucial to address the issue promptly. By following the troubleshooting steps mentioned earlier, such as tightening the connection, using quality hose clamps, and inspecting the washer, you can effectively resolve the problem.
Regular maintenance and proactive checks can help you avoid potential leaks and ensure a smooth and hassle-free water supply in your RV. Don’t overlook the importance of a secure water connection to fully enjoy your camping experience.